Stem Floating Whiteboard Marker Ink Activity
We had a lot of fun drawing different shapes with this stem whiteboard marker (dry erase marker) floating ink activity and seeing which shape worked the best and whether different coloured whiteboard markers worked better than others. This is a great stem activity to do at home for all ages.
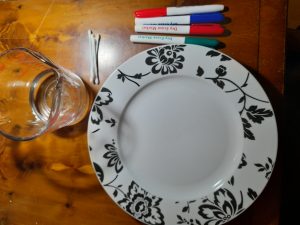
What you will need:
- Whiteboard markers also known as dry erase markers
- Ceramic plate
- Small container of water
- Cotton buds
How to make whiteboard markers (dry erase marker) float in water?
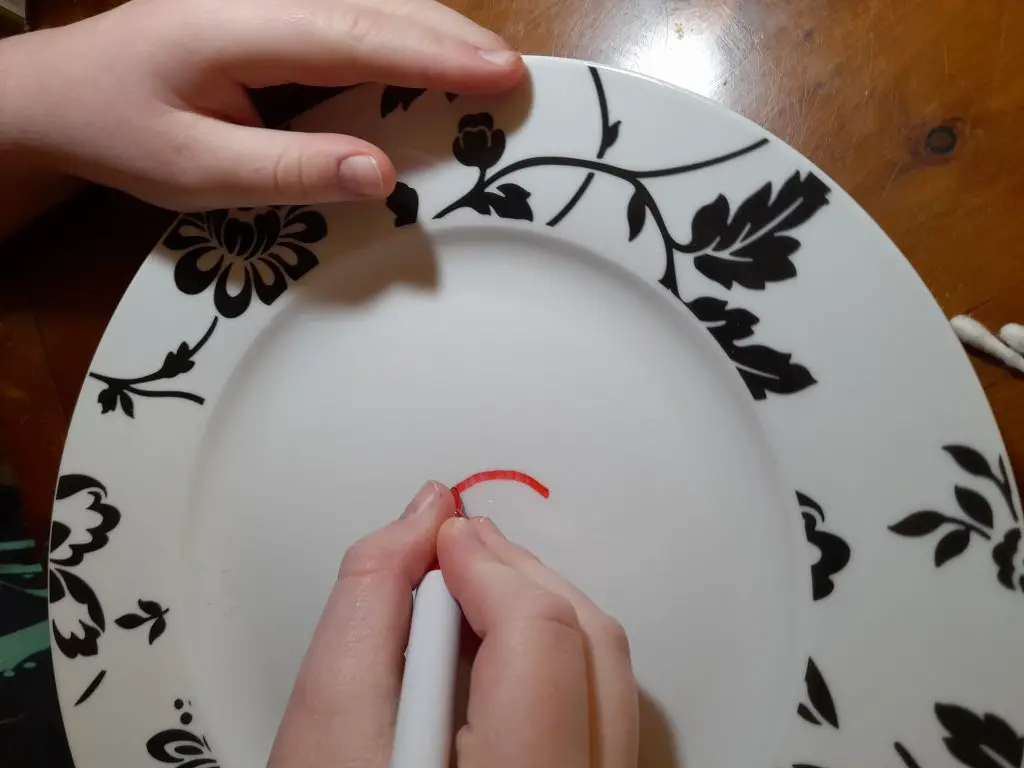
- Choose a colour and draw an image onto the plate, it could be a shape, some letters, a stick man or anything you choose.
- Leave it to dry for a minute
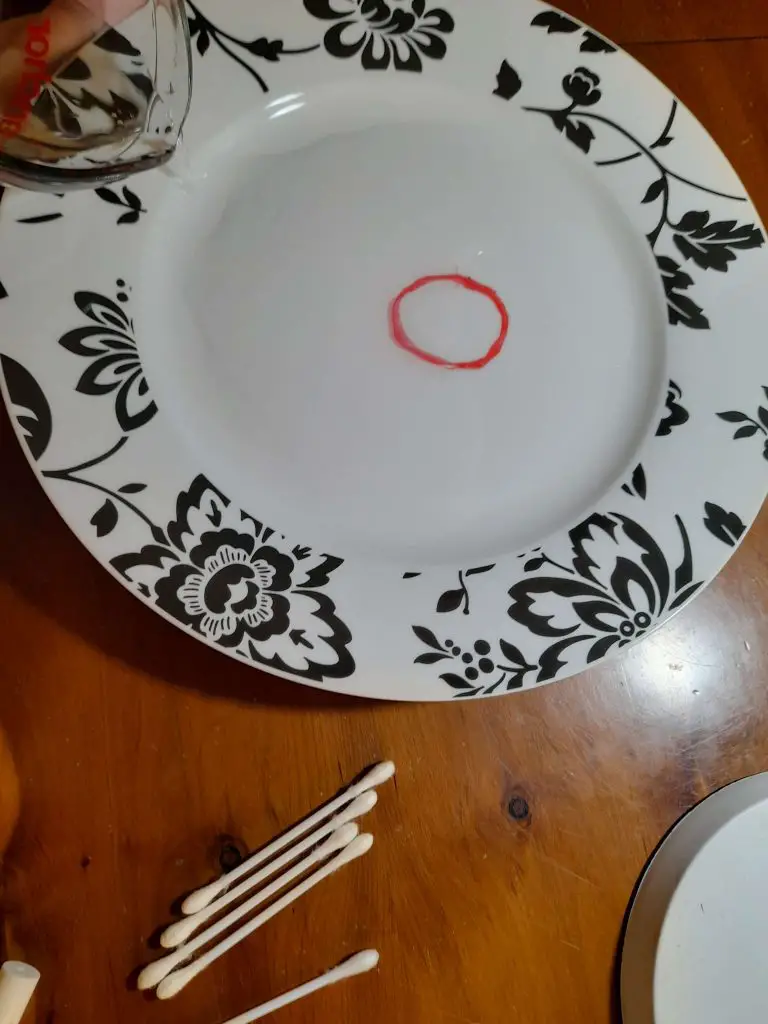
- Pour water slowly onto the plate
- The image should start to float
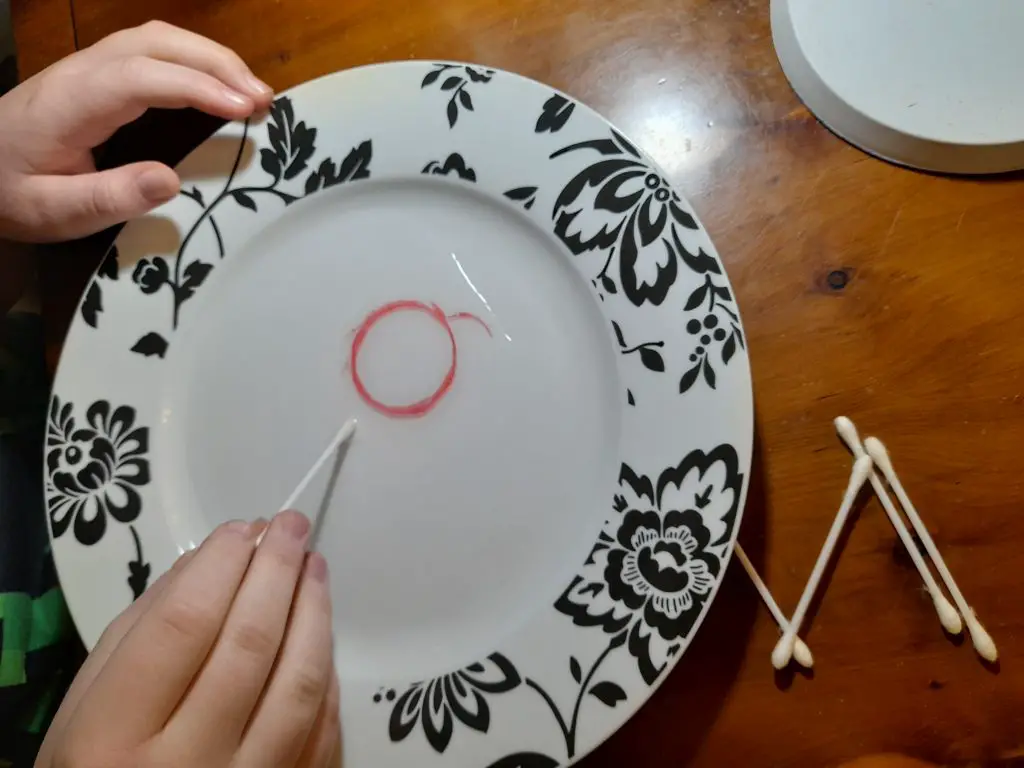
- Use the cotton bud to move the water and see the picture move
The Science – Why does whiteboard marker (dry erase marker) float in water?
Permanent markers have a strong adhesive in them that sticks to almost any surface you write on which means that the ink will not rub off, but whiteboard markers have minimal adhesive in them which means that they can easily be wiped away.
The ink in the whiteboard markers is insoluble. This means it cannot be dissolved in a liquid. It is also less dense than the water. This means that the ink will float on top of the denser water. When you pour water onto the plate a strong buoyancy force overcomes the ink and pulls it off the plate surface causing it to float in the water.

If you enjoyed this STEM activity try making Oobleck and find out how it works.