DIY Marbled Art with Shaving Cream: How to Create
Looking for a creative, colourful, and totally fun activity to do with your little ones? DIY Marbled Art with Shaving Cream is the perfect combination of science, art, and a touch of magic. Not only is it super easy and affordable, but it’s also one of those kids crafts that turns your kitchen table into an art studio of swirling masterpieces. With just a few household items, your children can create vibrant marbled art that looks like it came straight out of a gallery.
Whether you’re planning a rainy-day project, a homeschool art session, or simply want a screen-free creative outlet, this is one craft that never fails to impress. So, let’s dive into the colourful world of marbling and watch those giggles and gasps of wonder roll in!
The Magic Behind the Marble: What Is Marbled Art?
Before we get messy (in the best way possible), let’s explore what marbled art actually is. Marbled art is a technique where colours float on a surface—traditionally water or a thick medium—before being swirled and transferred onto paper. The result? One-of-a-kind patterns that look like swirls of marble, hence the name!
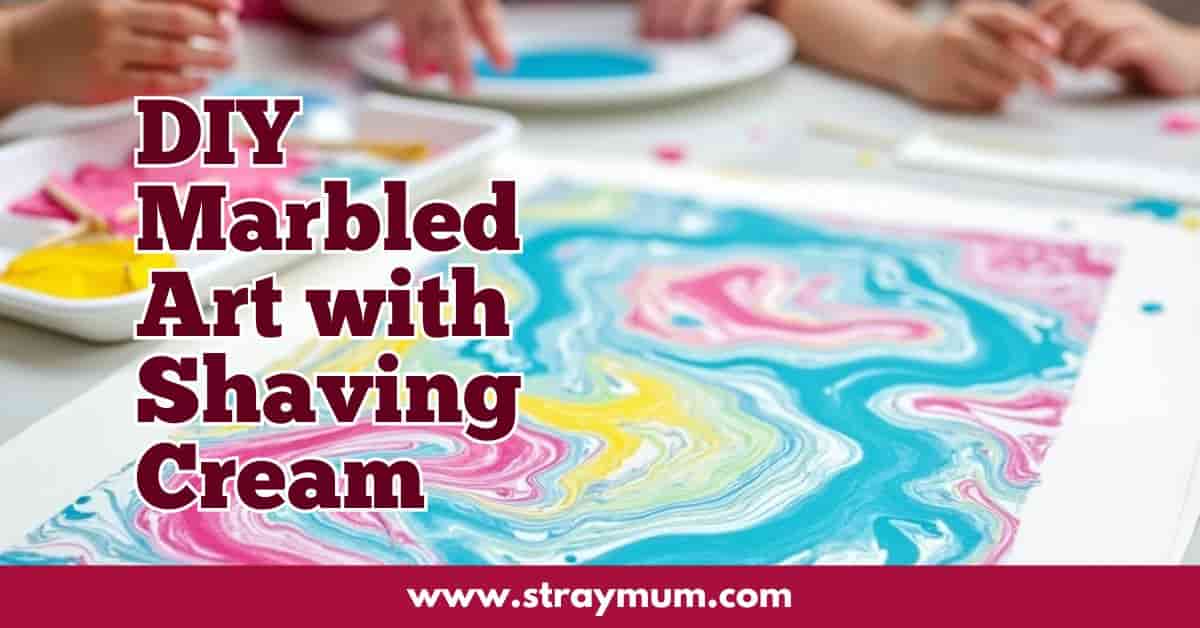
In this DIY version, we’re swapping out fancy materials for shaving cream, making it more accessible and much more kid-friendly. The shaving cream acts as a cushion for the colours, allowing little artists to swirl and create without the mess of liquids sloshing everywhere.
Why It’s a Favourite Among Art for Kids Projects
Marbled art is one of the most loved art for kids activities because it’s tactile, exploratory, and virtually foolproof. Children get to see cause and effect in real-time as they mix and swirl colours. Even better? Every single piece is unique! There’s no right or wrong way to do it, which means it boosts confidence while keeping things playful and engaging.
Gather Your Supplies: What You’ll Need
The best part about this craft is how simple and inexpensive the materials are. You probably already have most of them in your bathroom or kitchen cupboard!
Materials:
- A can of white shaving cream (not gel)
- Food colouring or liquid watercolours
- A baking tray or shallow dish
- White cardstock or thick paper
- A spatula, ruler, or piece of cardboard
- Skewers, straws, or toothpicks for swirling
- Paper towels or wipes for cleanup
Optional Extras:
- Glitter (for extra sparkle!)
- Plastic aprons or old T-shirts
- Rubber gloves (to keep little hands clean)
Let’s Get Swirling: How to Do It
This part is where the magic happens! Follow these steps to make your own DIY Marbled Art with Shaving Cream:
Step-by-Step Instructions:
- Spray the shaving cream into your tray or shallow dish. Spread it out evenly with a spatula to create a smooth, flat surface.
- Add drops of colour across the surface. You can use just two or three colours to start, or go wild with a rainbow.
- Swirl the colours gently using a skewer or straw. Encourage your kids to try different swirling motions—circular, zigzag, or even a gentle drag through the colours.
- Press the paper down onto the shaving cream and colour mix. Gently pat it so all areas make contact.
- Lift the paper off and place it shaving cream side up.
- Scrape the shaving cream off with a ruler or cardboard piece. Watch as the marbled design is revealed underneath—pure magic!
Let the artwork dry, and that’s it! You’ve just created marbled masterpieces with minimal mess and maximum creativity.

Tips, Tricks & Colourful Twists
Now that you’ve got the basics down, let’s level up the fun! This craft is perfect for experimenting and learning through play.
Play with Colour Combinations
Try sticking to analogous colours (like blue, green, and turquoise) for harmonious results, or go bold with contrasting colours like red and green. Don’t forget, part of the joy of marbled art is the unexpected patterns and blends that occur. Every piece is a surprise!
Add Some Texture and Shine
You can sprinkle a bit of glitter onto the shaving cream before pressing the paper down, or even use metallic food colouring for a shimmery effect. Some kids love adding a drop of essential oil for a lovely scent—just be sure to check for sensitivities.
How to Do It: Experimentation Edition
Once your children have done a few rounds of traditional swirling, encourage them to try:
- Layering colours before swirling.
- Pressing different types of paper (like tissue paper or brown paper).
- Creating shapes by masking areas with tape before pressing down.
These playful tweaks keep the craft exciting and help develop your child’s creative problem-solving skills.
Clean-Up Made Easy (Really!)
One of the best perks of using shaving cream? Clean-up is a breeze! Unlike other messy kids crafts, this one won’t leave you scrubbing paint out of the carpet for days.
How to Do It: Clean-Up Edition
- Have a bin nearby for used shaving cream and wipes.
- Keep a damp cloth at the ready for quick hand and surface wiping.
- Lay down newspaper or a plastic tablecloth before starting to make things even easier.
If your little ones are anything like mine, they’ll want to go back for round two (or five), so keeping a clean workspace helps make repeat creations smoother.
What Can You Do with DIY Marbled Art with Shaving Cream?
Now that you’ve got a stack of gorgeous marbled prints, you might be wondering what to do with them. Good news—there are tons of fun ways to use your creations!
Turn Artwork into Gifts and Decor
Marbled art makes fantastic greeting cards, bookmarks, gift tags, or even framed wall art. Kids love seeing their work turned into something useful, and it’s a great way to share their creativity with friends and family.
How to Do It: Transforming Your Masterpieces
- Cards: Cut the marbled paper and glue it to blank cards.
- Bookmarks: Laminate and punch a hole for ribbon.
- Decor: Mount onto canvas boards or place in simple frames for instant art.
Not only do these ideas make use of your marbled masterpieces, but they also extend the fun beyond the initial crafting session.
Let the Colours Flow!
DIY Marbled Art with Shaving Cream is one of those rare kids crafts that ticks all the boxes: it’s easy, affordable, colourful, and captivating from start to finish. Whether your child is a budding artist or just enjoys messy play, this marbled art activity is sure to be a winner.
By combining creative expression with tactile fun, this project not only enhances fine motor skills but also fosters a love for making art. Plus, it’s a brilliant reminder that sometimes, the simplest materials create the most stunning results.
So, grab your shaving cream and get swirling—it’s time to let those colours flow!